If you’re noticing any issues with your pet’s eyes, sharing clear, detailed photos can help us assess the situation before your visit. By following these simple steps, you can capture the best images for our team – allowing us to better plan for your visit and sometimes even help right away.
Preparing to Take a Focused Eye Photo
Prep the Environment
Trying to capture a photo of your pet’s eye is best done inside, with all of the rooms lights on and away from any natural light coming from a window or doorway. Even closing all the blinds can improve your photos.
Adjust Your Camera Settings
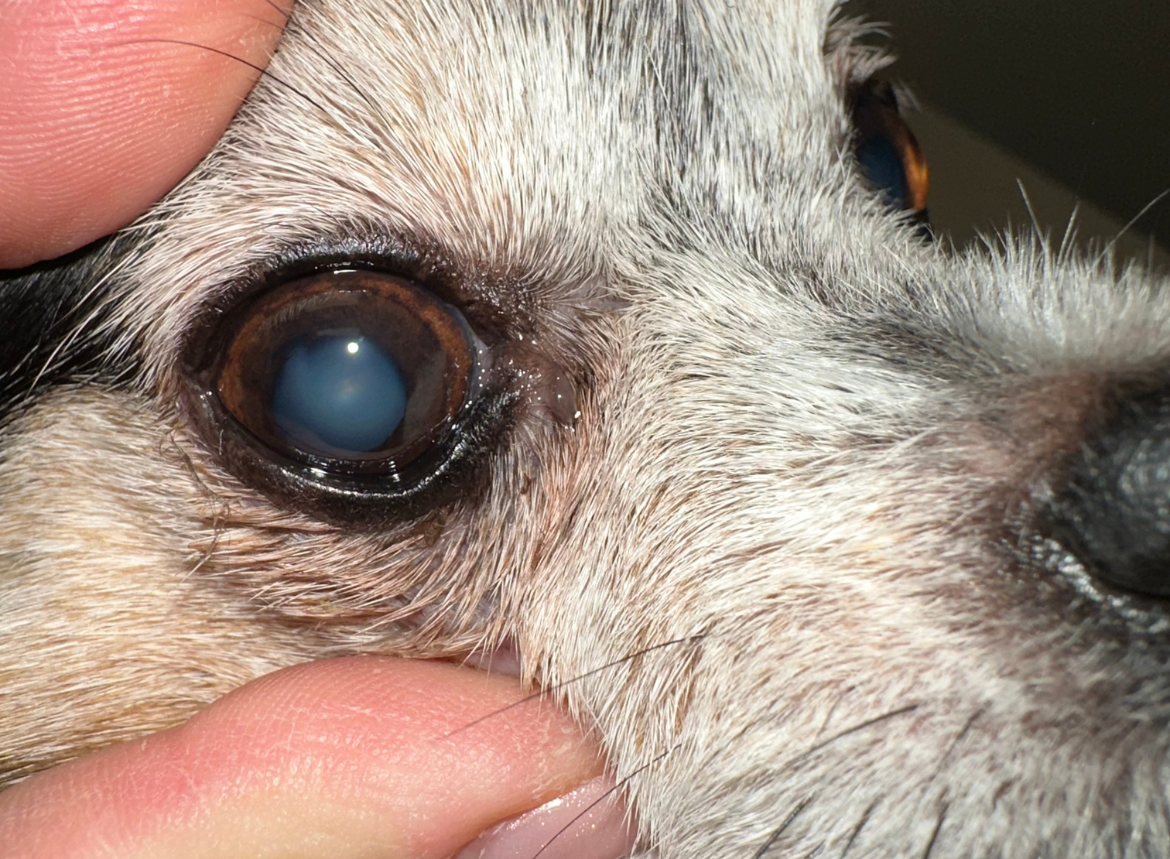
Ensure you have the Camera Flash set to On, as this is the most important step towards helping improve the even distribution of lighting on the eye. When possible, tapping on your pet’s eye on the screen can make the eye the sole focus, and will improve the results.
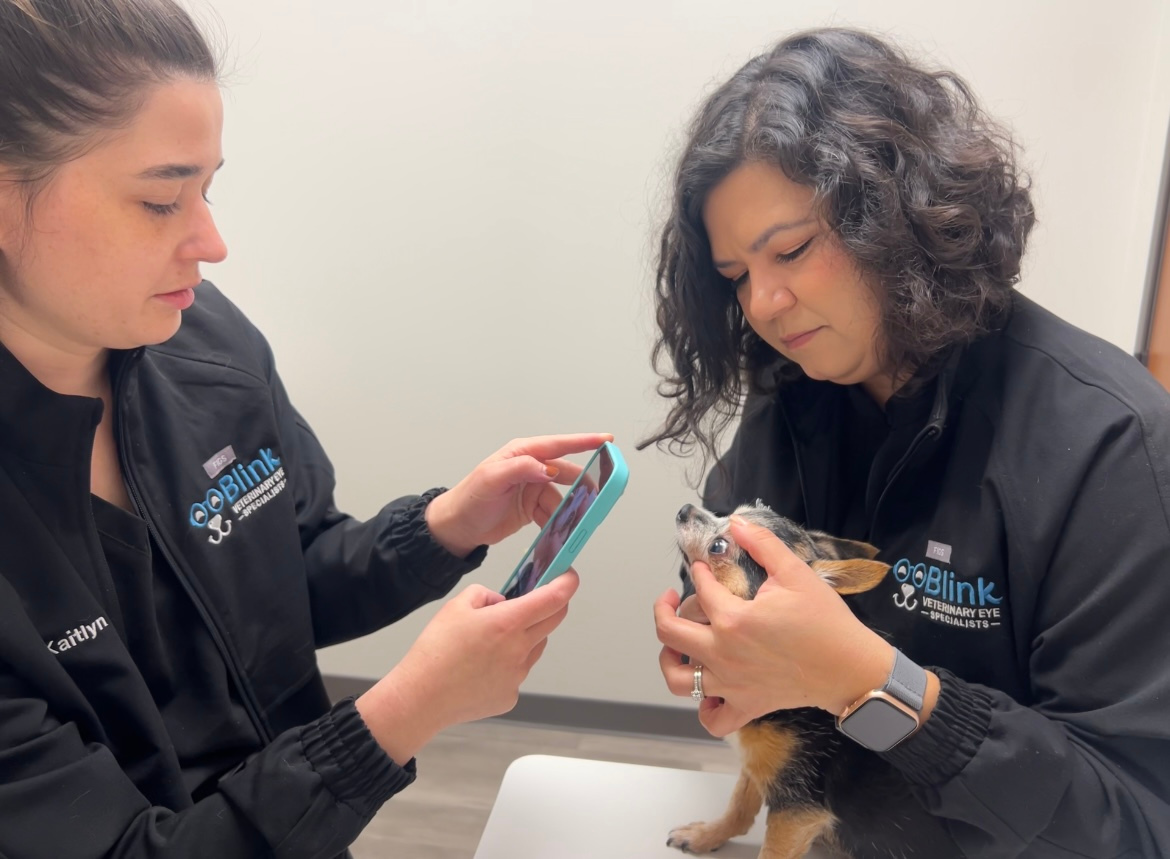
Get Your Pet Ready
Having a helper hold your pet during the photo can make this much easier. Have them gently open their eyelids (avoiding any pressure on the eye) using their thumb and forefinger, and as you take the photo (flash on!), try to get your pet’s attention so they look directly at the camera.
Tips for Photographing Your Pet's Eyes Clearly
1
Position Your Pet Centrally
Try to have your pet’s eye take up the central third of the photo. A well-centered image can help us better assess the condition of the eye.